Summary:
Pre-Installation Assessment and Planning
Before any equipment arrives at your door, a proper installation starts with understanding your space. This isn’t about a quick measurement and moving on.
A thorough assessment examines your home’s layout, existing electrical capacity, and any structural considerations specific to Queens housing. We evaluate insulation levels, window placement, and current ductwork condition. This planning phase determines everything from system sizing to installation timeline.
System Sizing and Equipment Selection
Getting the right size system matters more than most people realize. Too small, and you’ll struggle with inconsistent temperatures and constant cycling. Too large, and you’re looking at wasted energy and shortened equipment life.
Professional load calculations consider your home’s square footage, but that’s just the starting point. Insulation quality, ceiling height, window efficiency, and even household occupancy patterns all factor into the equation. In Queens, where housing ranges from pre-war apartments to modern high-rises, these calculations become even more critical.
We explain why we’re recommending a specific system capacity and discuss the equipment’s energy rating and how it will perform during peak summer and winter demands. We also discuss your options for different efficiency levels and help you understand the long-term cost implications.
The equipment selection process should align with your home’s existing infrastructure. Some Queens apartments have electrical limitations that affect which systems you can install. Others might have space constraints that make certain configurations impractical. We identify these issues early and present realistic options.
Permits and Preparation Requirements
HVAC installation in Queens often requires permits, especially for major system replacements or electrical upgrades. We handle this paperwork, but understanding the process helps you plan accordingly.
Building permits typically take one to two weeks to process, depending on the scope of work. If your installation requires electrical panel upgrades or significant ductwork modifications, expect additional permit requirements. Co-op and condo buildings may have their own approval processes on top of city requirements.
Preparation starts before installation day arrives. Clear access paths to your mechanical areas and outdoor unit locations. If you’re in an apartment building, coordinate with your super or management company about elevator reservations and any building-specific requirements.
Some installations require temporary utility shutoffs. We’ll discuss the timeline for gas, electric, or water service interruptions. Plan accordingly, especially during extreme weather when you’ll need alternative heating or cooling arrangements. Most professional installations minimize these disruptions, but knowing what to expect helps you prepare.
Storage considerations matter too. New equipment arrives before old equipment leaves, so you’ll need temporary space for both. We include debris removal plans and cleanup in our scope of work.
Installation Day Process and Timeline
Installation day typically starts early, especially during peak seasons when we want to complete work before extreme temperatures hit. Most residential installations in Queens take one to three days, depending on system complexity and any unexpected issues.
The process begins with safely removing your old equipment. This includes properly handling refrigerants, disconnecting electrical and gas lines, and disposing of old components according to regulations. We protect your home during this phase and clean up debris as we work.
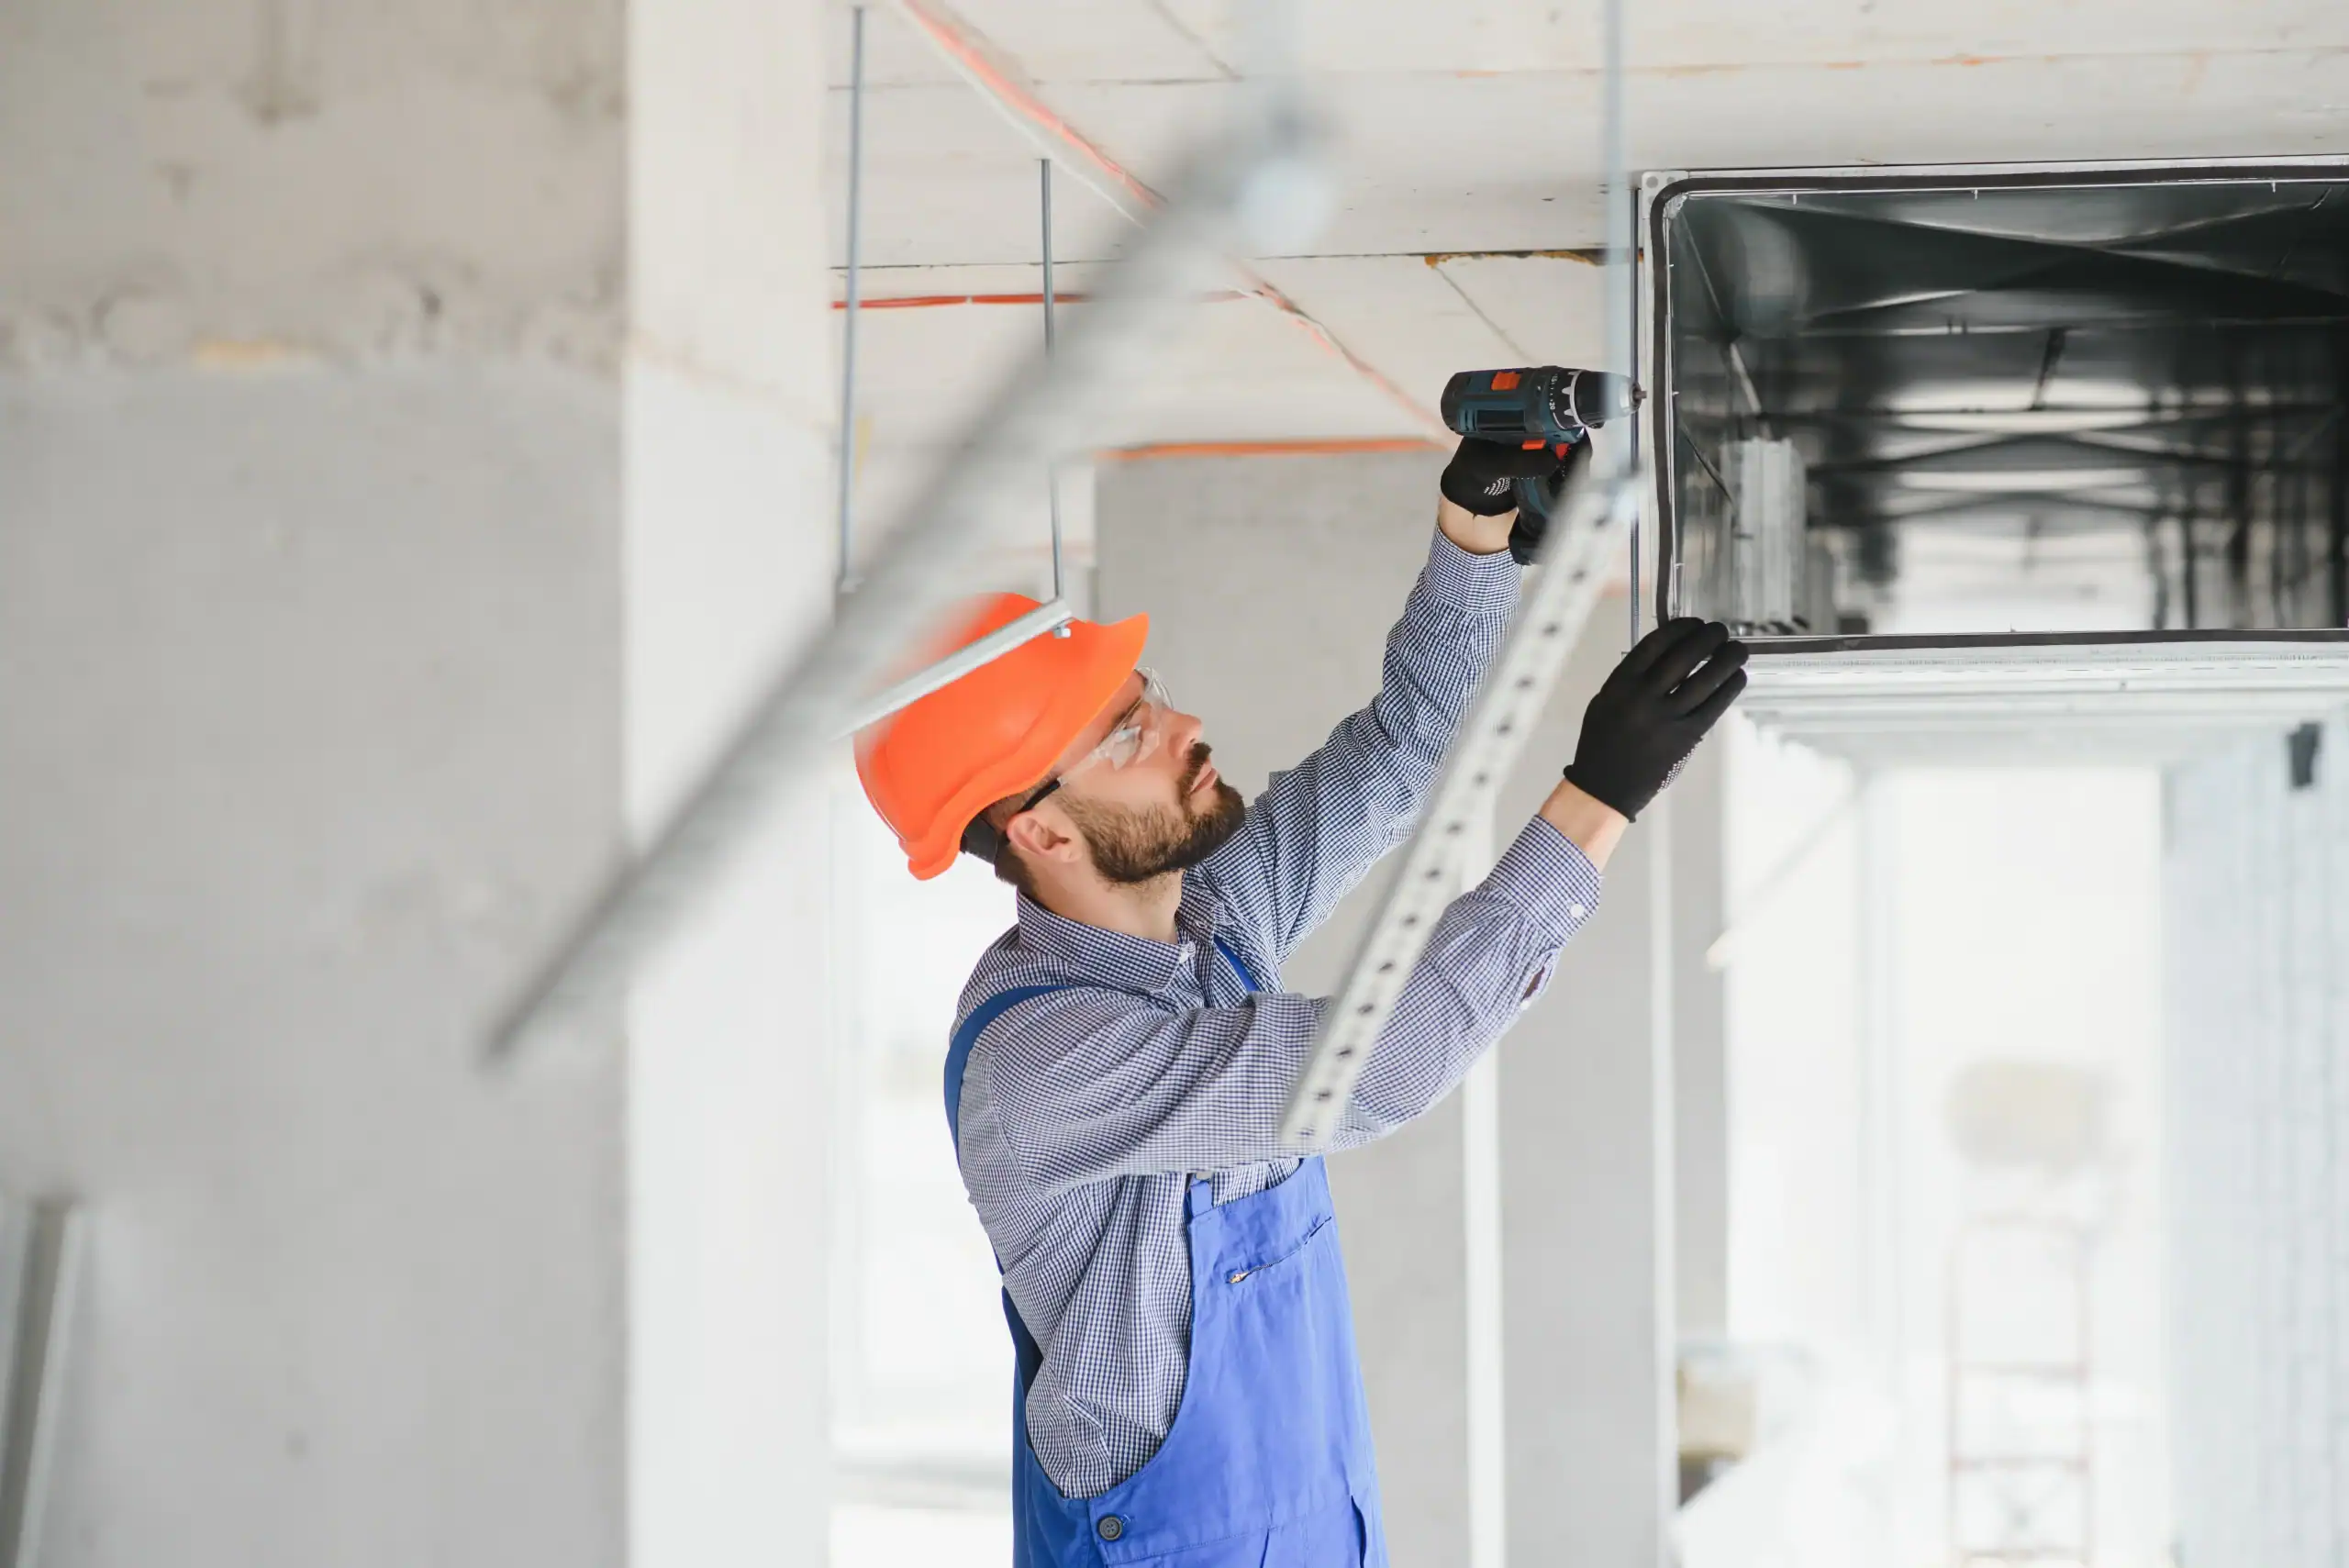
Equipment Installation and Connections
New system installation follows a specific sequence designed for safety and efficiency. Indoor units go in first, followed by outdoor components, then all the connections between them.
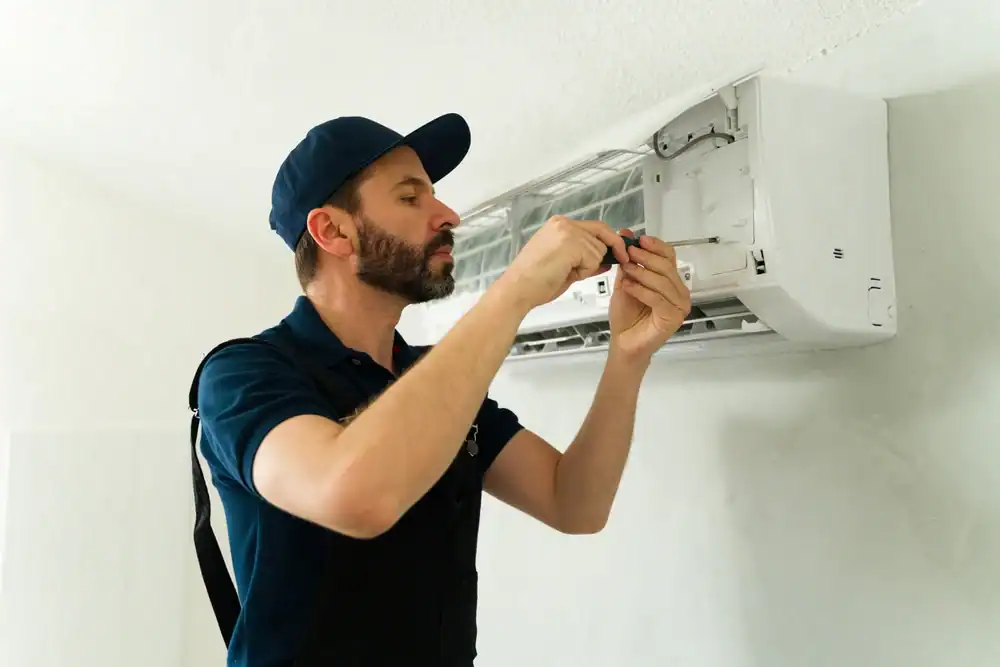
For PTAC installations common in Queens apartments, the process involves precise measurements and wall preparations. Through-the-wall units require proper sleeve installation, insulation, and weatherproofing to prevent air leaks and noise issues. This work demands attention to detail that separates professional installations from quick jobs.
Electrical connections require licensed technicians who understand local codes and safety requirements. This includes proper circuit sizing, grounding, and disconnect installation. Gas connections, where applicable, involve similar safety protocols and testing procedures.
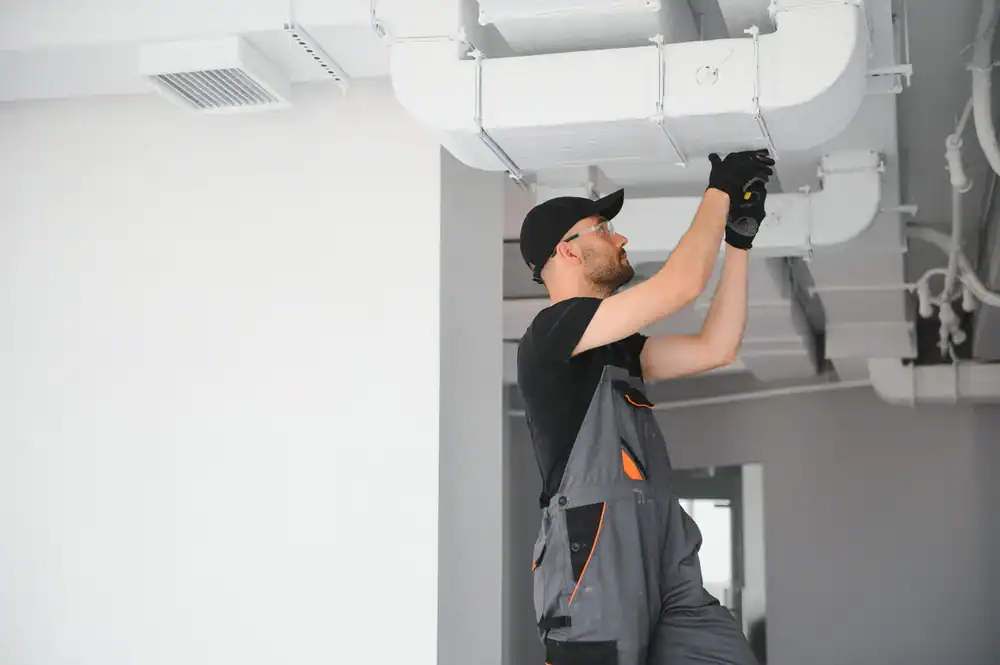
Ductwork connections or modifications happen during this phase. In Queens’ older buildings, existing ducts might need cleaning, sealing, or partial replacement. New installations might require additional venting or air distribution modifications. We test airflow and make adjustments to ensure even temperature distribution throughout your space.
Refrigerant lines for split systems require careful installation and testing. Improper installation here leads to efficiency problems and premature equipment failure. We pressure test these connections and verify proper refrigerant charge before moving to final testing.
Testing and System Commissioning
The final phase involves comprehensive testing to ensure everything works safely and efficiently. This isn’t just turning the system on and checking for cold air.
Professional commissioning includes checking refrigerant levels, verifying electrical connections, testing safety controls, and calibrating thermostats. For gas systems, we perform combustion analysis and verify proper venting. Every component gets tested individually and as part of the complete system.
Airflow testing ensures your system moves the right amount of air through each room. Static pressure measurements verify that ductwork isn’t restricting airflow, which would force your system to work harder and use more energy. These tests often reveal issues that aren’t obvious during initial installation.
Temperature differential testing confirms your system is actually heating or cooling effectively. We demonstrate the system’s operation and walk you through basic maintenance requirements. This includes showing you how to change filters, adjust thermostats, and identify potential problems before they become emergencies.
Documentation matters during this phase. You should receive warranty information, maintenance schedules, and emergency contact information. We also provide a brief overview of your system’s expected performance and any specific considerations for your installation.
Getting Your Installation Right the First Time
A professional HVAC installation sets the foundation for years of reliable comfort and efficient operation. When done correctly, you shouldn’t experience surprise breakdowns, inconsistent temperatures, or unexpectedly high energy bills.
The key is working with contractors who understand Queens’ unique challenges and take time to do the job properly. This means thorough planning, quality equipment selection, and attention to detail during every phase of installation.
If you’re ready to move forward with your HVAC installation, Lion-Air Enterprises brings decades of experience to Queens residents who need reliable heating and cooling solutions. The investment in professional installation pays off through better performance, lower operating costs, and fewer emergency service calls down the road.